Two ways to tint your fogs. Clip-in acrylic or wet-apply vinyl — same result, different install.
Two Versions, One Goal
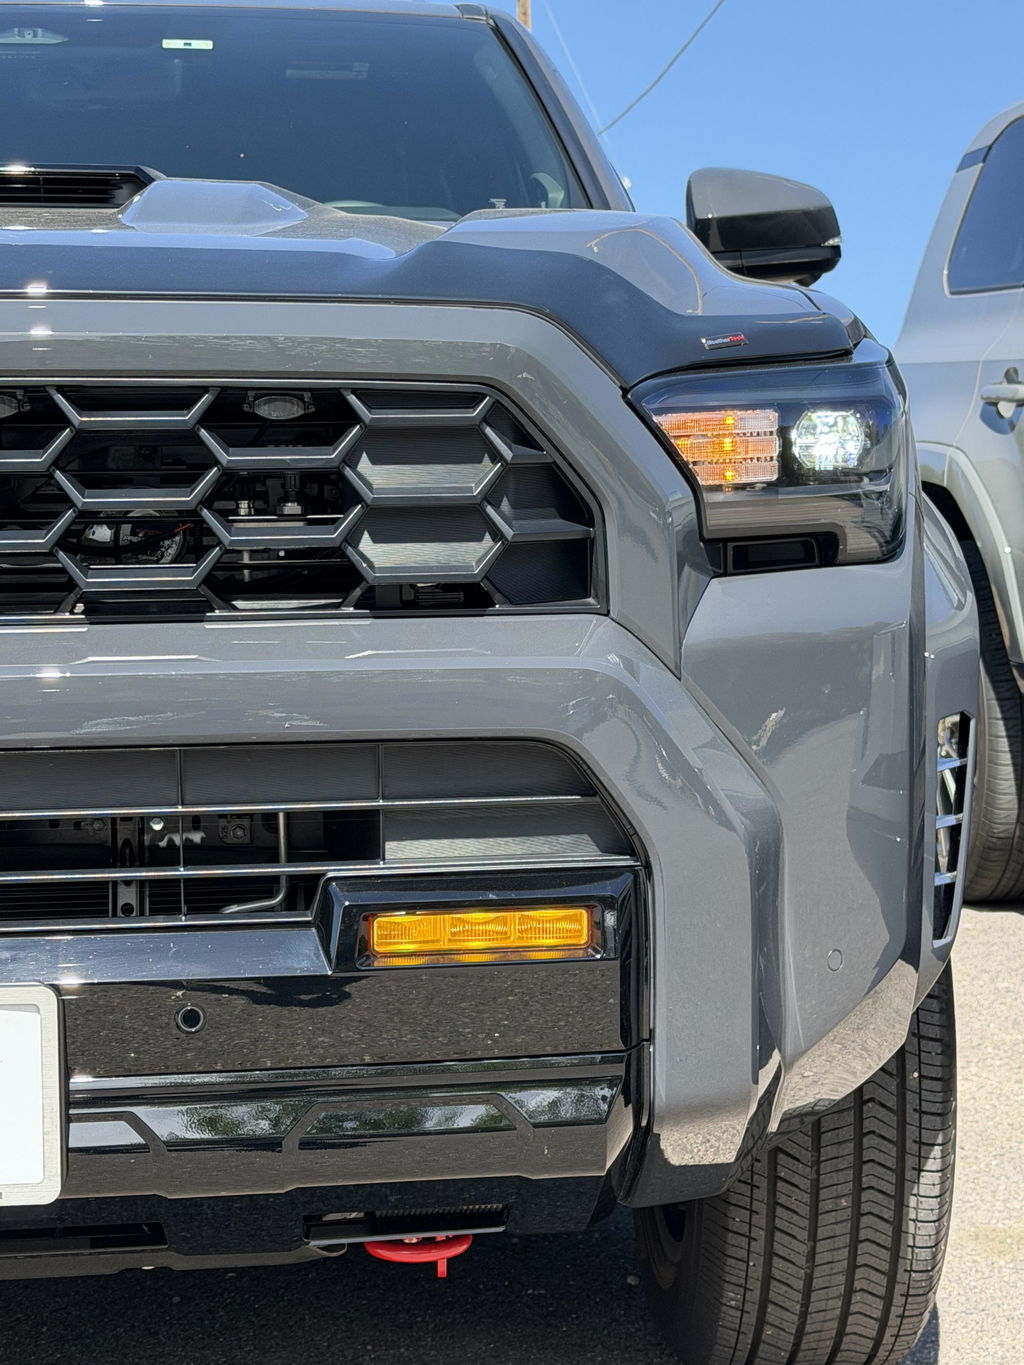
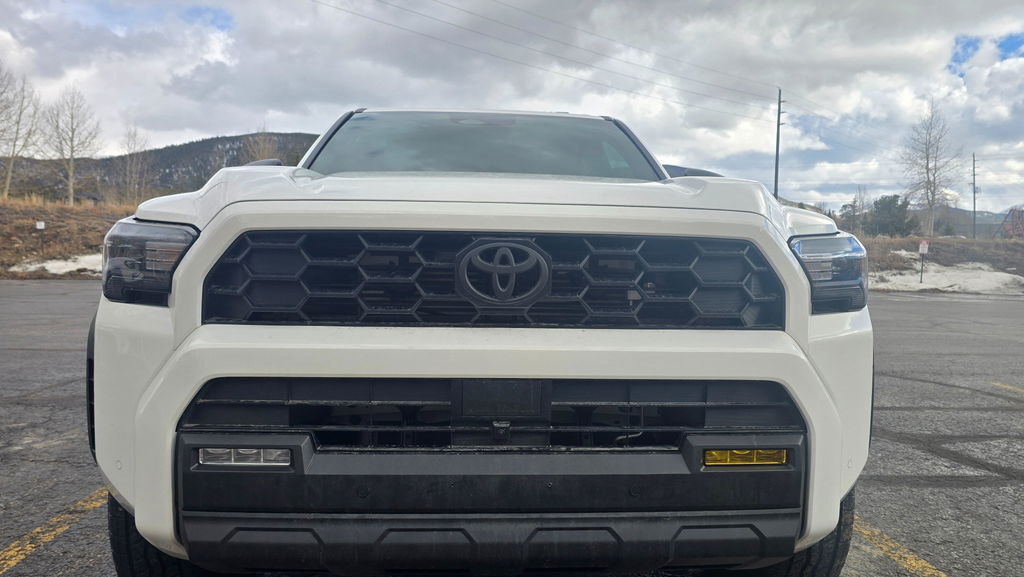
These fog light overlays are precision-made for the 2025+ Toyota 4Runner factory fog light housings. They change both the light output color and the daytime lens appearance — giving the front end that amber, yellow, smoked, or tinted look without touching the wiring or the bulbs.
You choose the format based on how you want to install:
Acrylic V2 ($24.99) — hard lens, clips directly into the factory housing. No adhesive. Clips directly in, no tools.
Vinyl ($9.99–$13.99) — thin film applied wet to the lens surface. Conforms to any shape. Extra backup set included.
Amber, Yellow, Smoked, Purple, Prismatic Pink, Green
Amber, Deep Amber, Yellow, Dark Smoke LX+
Price
$24.99
$9.99 – $13.99
Extra set included?
—
Yes — backup pair included
Best for
Clean look, quick swap, no mess
Budget-friendly, any lens shape
Acrylic V2 Color Options
Amber
Yellow
Smoked
Purple
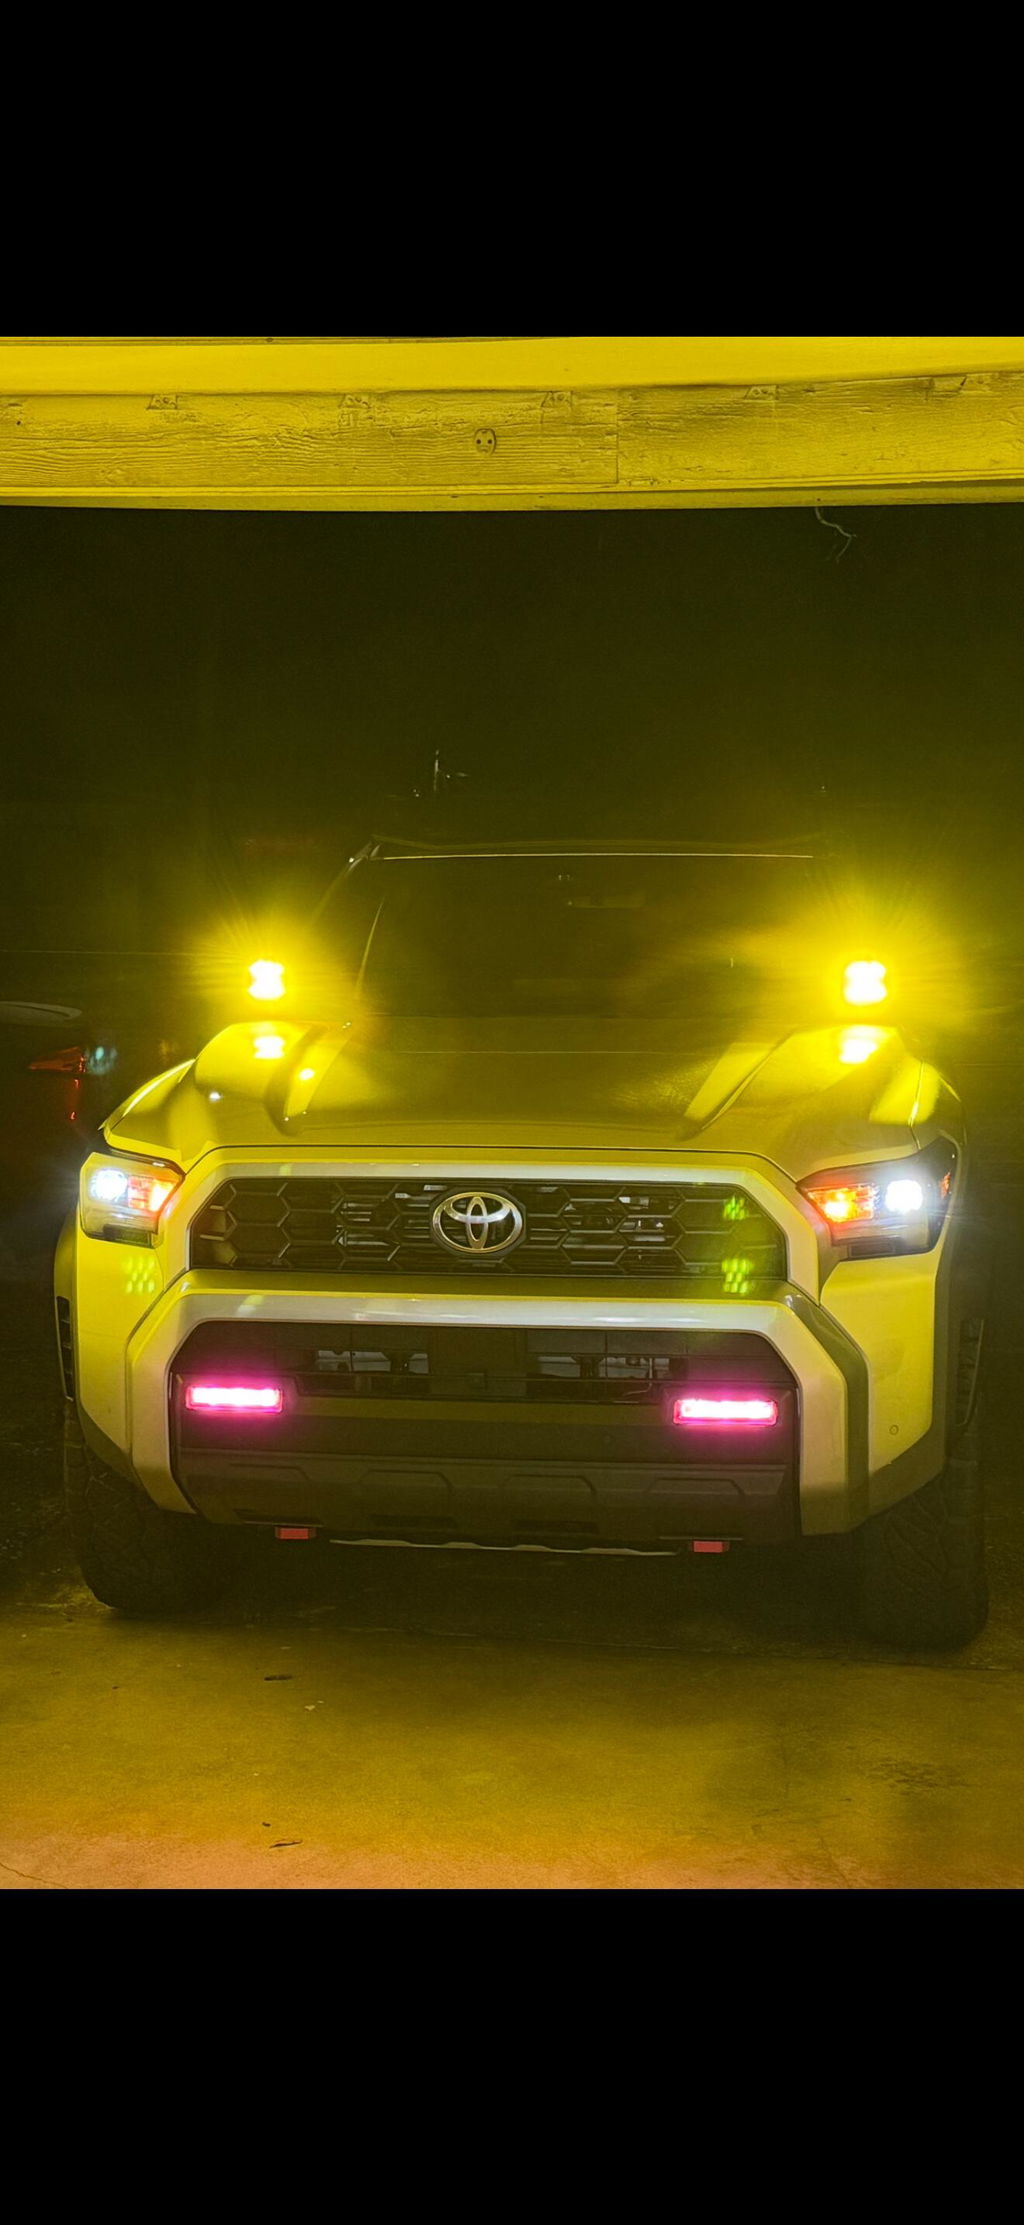
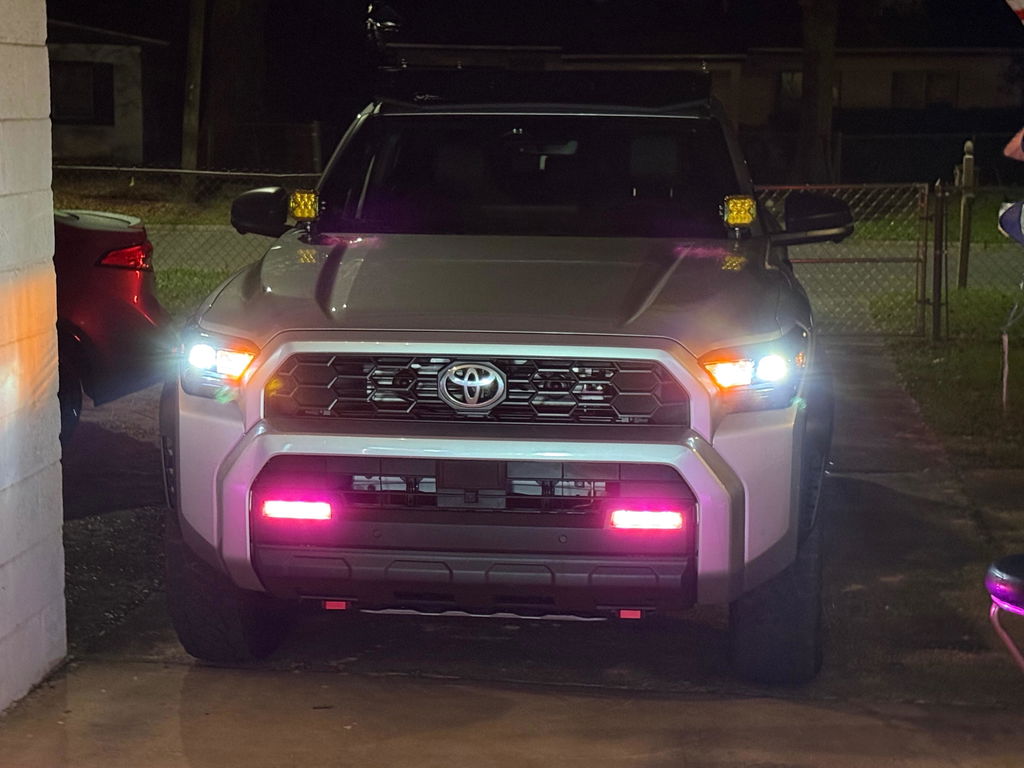
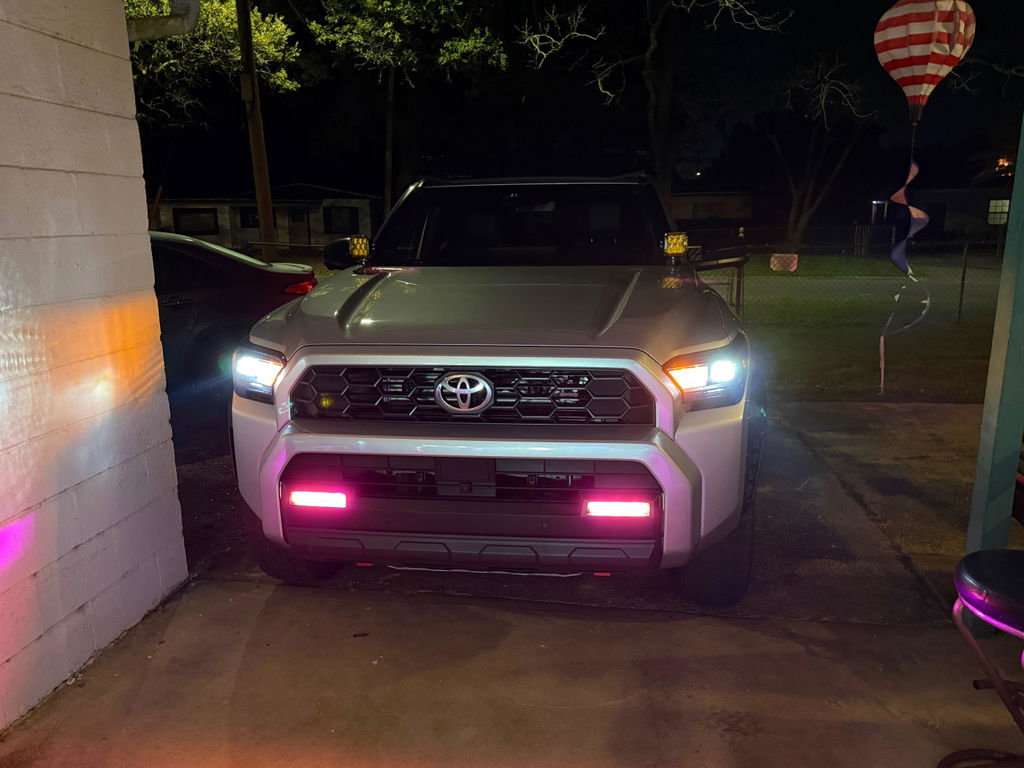
Prismatic Pink
Green
Prismatic Pink looks amber/orange during the day and shifts to pink at night. Smoked creates a stealthy dark look during the day while still transmitting light at night.
Installation Videos
Overview — all styles
Acrylic V2 clip-in install
Color comparison
Prismatic Pink in action
Acrylic V2 — Installation
Clean the original lens. Slip the bottom tabs behind the bumper cover, then press the top in — all 4 tabs should be seated behind the plastic. To remove, apply upward pressure on the bumper cover and work the piece back out in the reverse direction. Remove the protective paper last.
Vinyl — Installation
Clean the lens surface with wax-free detailer. Use StickerFab Application Fluid or 1 drop dish soap in a cup of water. Spray both the vinyl and the lens. Slide into position, squeegee from center out. Apply light heat to edges if needed. Allow to dry in sun.
The extra set can be saved as a backup or layered on top for a darker tint.
Are these compatible with RIGID aftermarket fogs? No — the Acrylic V2 will not fit RIGID Pro or Trailhunter lamps at all. The housing geometry is completely different and there is no modification that will make it work. Vinyl versions can potentially be made to fit but would require trimming to size.
Which color gives the most amber output? Standard Amber gives saturated amber output. Deep Amber vinyl is even more intense. The tradeoff is slightly reduced raw brightness.
What does Prismatic Pink look like? Amber/orange during the day, shifts to pink at night. It's the most unique option — looks different in different lighting conditions.
What does Smoked look like at night? Stealthy dark during the day, still transmits light at night — output is reduced but not dramatically. Best if you want fogs to disappear into the bumper.
Which trims are compatible? 4Runner: SR5, TRD Sport, TRD Off-Road, Limited. Tacoma: SR/SR5 (factory fogs required), TRD PreRunner, TRD Sport, TRD Off-Road, Limited. Not compatible with Pro / Trailhunter RIGID lamps.
Great idea instead of paying $199 for a new set of fog lights. Plus there are optional colors if you want to change them
Out. Looks like they are factory installed!
T
Timothy Massey (Pensacola, FL, US)
Compliments galore !
Since putting my acrylic v2 lenses, I’ve gotten a lot of compliments, I too think they look cool !
L
Lucky Jhon Tiongco (Fargo, ND, US)
5 stars
I received the amber fog lights in good condition. Delivery was sooner than expected and the product works as advertised. Highly recommended.
M
Mike N (Williamson, NY, US)
Fog Light Acrylic Overlays
The fog light acrylic overlays are good quality, they stay put, and they look great!
T
Tommy (Los Angeles, CA, US)
Acrylic version. 2 amber
Looks great. Solid product. I had the stick on acrylic version 1 and it was coming off on one side and it didn’t fully cover the edges of the light. This new version looks much better and covers the whole light. Install was easy just clip in. Easy color upgrade.
D
Duh-ON (Burlington, MA, US)
Easy PEEEESee
Will I keep these on forever? Unlikely, but will it give me some satisfaction that my foglights do not look stock while I figure out what I want to do long-term with the foglights
J
John G (Dillon, CO, US)
Looks Great, Fitment Has Me Concerned
Looks amazing, solid piece of acrylic and at night makes the world of a difference. You can tell the quality of this is better than the sticker version but I am concerned about the fitment. So far they're still held in place but we will see what happens after some light off roading. Either way great solution and reasonably priced versus upgrading spending hundreds of dollars on Baja or Diode lights.


 Amber
Amber
 Yellow
 Smoked
 Purple
 Prismatic Pink
 Green
Green