Matte Window Frame Black Out Kit - 2021+ Bronco
€28,95 EUR
%3Cp%3EEarn%20[points_amount]%20when%20you%20buy%20this%20item.%3C/p%3E
- DIY black out kit
- Installation video below
This was a request from a customer that wanted to black out the frame of their windshield. It can also protect / cover up this area and gives a nice piece to apply additional decals / stickers to.
Please watch our video in the installation section for tips.
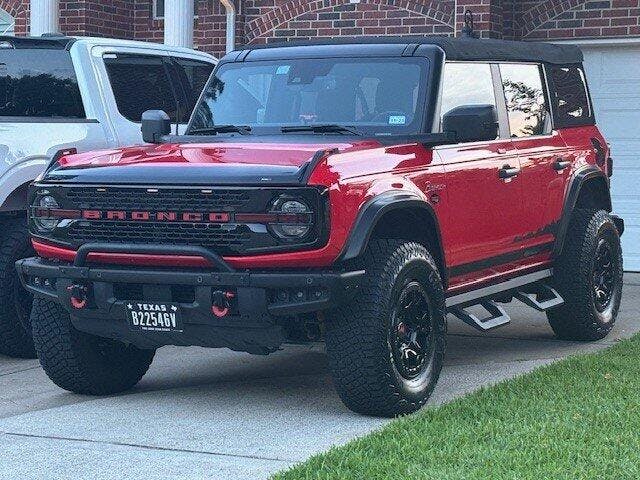
See all the photos for the coverage area. We tried to make it simple enough to DIY without cutting on the vehicle.
5 pieces:
Recommended items:
The fluid, squeegee, and microfiber can also be purchased as a kit here.
NOTE: 2 sets are sold at a reduced price. Keep it as a backup or in case your first install proves to be difficult.
We recommend doing this after a fresh car wash. Re-clean the application area to prepare it for installation. Just use a wax free detailing spray if your vehicle is not too dirty. Do not forget to clean the edges of the A pillar. Also wash your hands. You do not want to get dirt stuck to the adhesive side of the material.
Our installation video goes over the most time consuming portions of the install which are the pillar pieces.
NOTES: We recommend that the installation area be free of wax and not under direct sunlight. Use of a hair dryer or heat gun (low amounts of heat) may be needed for the outer portions if it is not stretching / drying at a desirable rate. Use sparingly.
You will want to do this in 74-84 degree weather ideally. Stay in the shade.
Apply application fluid to the target install and nearby surrounding area. Also apply it to the back of the material as it is removed from the backing paper. Apply it to your fingers for bonus points.
With a liberal amount of application fluid on the target area and material , you can change the alignment of the material by gently pulling up on portions and setting it back down.
Once you alignment is ideal, you can start to squeegee out the liquid. Our video has key tips on this such as aligning the inside edge and starting at the bottom.
Try to get out all bubbles without damaging the material. Take your time and learn how the material reacts to pressure.
I think that it came out great! Changed the look of my Bronco for the best!
I need more practice. The top went on flawless. The sides, not so much. I should try again with the spray adhesive. I didn’t buy that. Probably would have worked better.
Creates a nice transition from front windshield to tinted front windows. Good application instructions.
It took me 3 hours but I took my time as I am a perfectionist and found the product a bit difficult to work with. It was cut smaller than I envisioned and was very tacky unlike a decal. I have done many types of installs including stickers, decals, wraps, PPF. This is definitely a wet install but too much solution leads to prolonged times. Essentially I treated this as a precut wrap and balanced the pieces for a suitable outcome. I am happy with the results and would recommend.