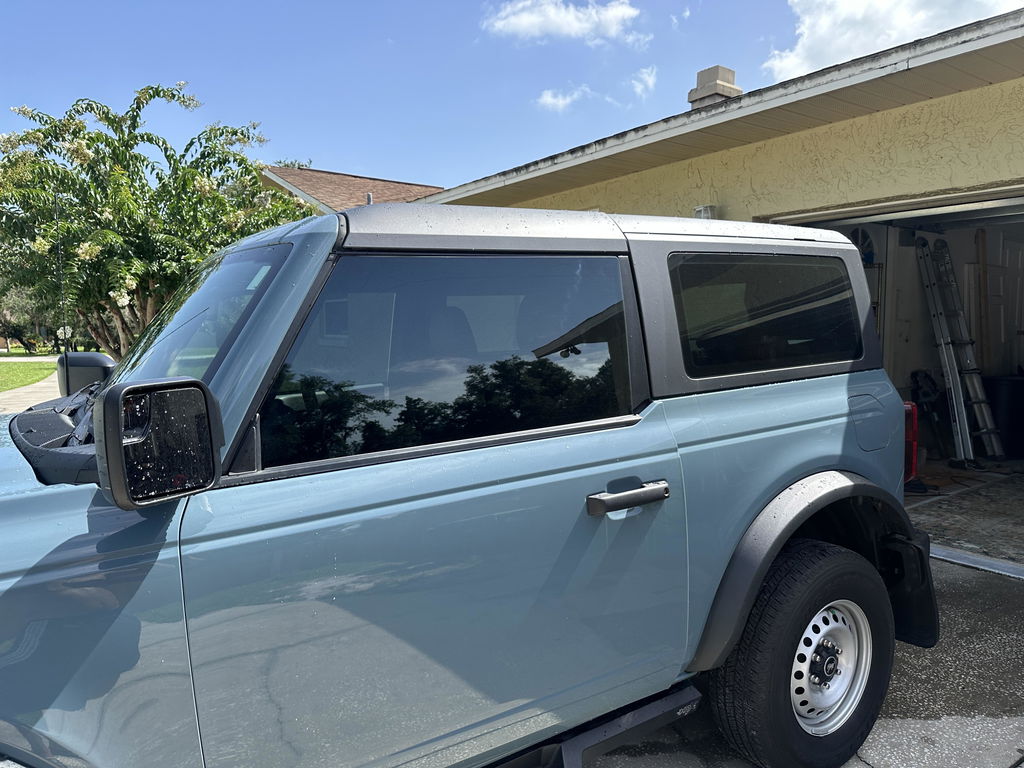
Most Broncos, like many SUVs, come with tint on the rear windows, but no tint on the front. Base Broncos don't have tint on the rear set of windows as well.
No need to find a reputable shop when you can DIY in 30 minutes or less. Our 2 piece kit will allow you to tint your front windows.
We also have you covered if you want to do the other windows as well. No pun intended.
NOTE: A couple different sources cite the stock rear windows are about 15%. This is the factory tinted rear vehicles. Some vehicles like base models do not have factory tinted rear windows. Please message us if you have the modular hard top and need tint for that (rear quarter). This is the one with pop out windows.
This video is super helpful. We highly recommend you quickly watch it before starting your install.
Windshield Eyebrow Install Video
Tinting the upper section of your windshield is legal in many if not all states. It provides extra relief from the sun hitting your eyes.
Materials
CheetahTint Performance Series Automotive Window Tint
99% UV Protection
Excellent Durability
Reduced glare
Zero Signal Interference (metal free)
Limited lifetime color stable warranty
15%, 30%, 50% (5%, 20%, 35%, available upon request)
CheetahTint Ceramic IR70
incorporates Nanotechnology to reject damaging UV and IR rays. This film has exceptional optical clarity while reducing excessive heat and glare. This film has outstanding color stability and solar control, backed by a limited lifetime color stable warranty.
99% UV Protection
Solar Rejection up to 63%
Reduced glare
Zero Signal Interference (metal free)
Exceptional price point
Limited lifetime color stable warranty
We are open to add other VLT percentages (light transmission percentages). Also we can can carry other lines of tint and even ceramic tint. Just contact us.
NOTE: 2 sets are sold at a reduced price. Keep it as a backup or in case your first install proves to be difficult.
PROCESSING TIMES: There are 60 variants of this product. To provide such an assortment, we have to cut these items in very small batches. If you are in a rush, please use our Priority Processing.
INSTALLATION
Follow the video above! Clean the windows and surrounding trim areas.
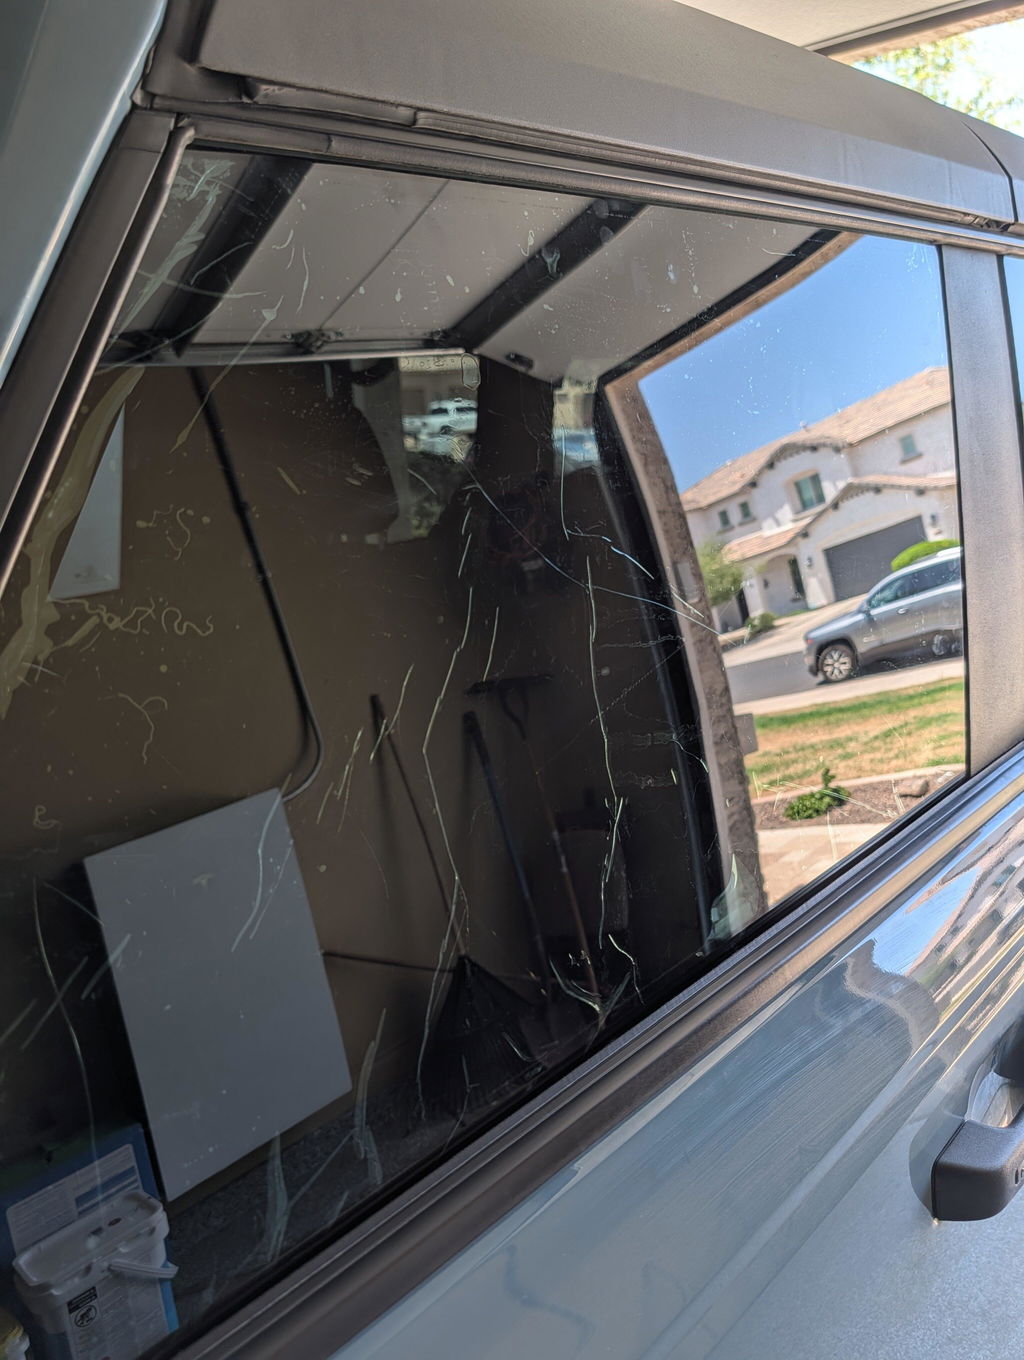
Great for for the brunch. Had high hopes. But the film came off the roll with creases that I could never push out. Made the widow look broken. Could never get the film into the inside other either. Always pushed back up.
R
Raymond Sheedy (Charlotte, NC, US)
Glad I Tried It
Easy install - have help to peel off the liner while wetting the film. Once applied to the window, slide it into alignment and push (order the felt squegee to avoid scratches) the water to the sides - there will be bubbles - let it dry and give it a week for the film to fully settle and bubbles to disappear. Great match to the rear factory tint!
J
Josh Grover (Orlando, FL, US)
Didn't work for me
I've purchased other products from stickerfab which have been great, not so with this one. I watched the installation video and gave it a shot. In the end it wrinkled too easy which was unfixable and ended up in the trash.
J
Jaime Meza (Bell Gardens, CA, US)
Easy DIY Window Tint Kit - 2021+ Bronco
R
Russell Singh (Orlando, FL, US)
Decent but could use improvements
Ordered the 25% front window kit for a 2 door and installation was fairly smooth (I’ve tinted 2 cars before this). The film is very thin and fragile so I did a “reverse roll” technique by separating the tint from the liner and spraying it with soapy water and sticking them back together prior to the actual install (used my glass shower door as a mount to do this indoors away from the wind). This let me minimize my time outside fighting with the liner when the time came to take it off, helping to reduce contamination and wrinkles. I still ended up with a bit of contamination but that’s on me. I’m deducting 2 stars for the tint itself and for the packaging. The pattern for the 2 door is a bit off, particularly towards the mirror base (should notch forward to fill the gap) and the angle of back edge is not correct, leaving an uneven gap on the back even after ensuring the rest of the film edges are aligned properly. This tint was also packaged with some PPF I ordered, though the PPF was rolled to where it stuck to the tint, making it a very delicate game of operation to unbox the tint and PPF without damaging/creasing the fragile tint. For future orders I’d recommend rolling PPF so the backing/paper is out, that way it won’t stick to other orders such as tint. I’d also suggest reviewing the cut pattern and possibly partnering with a more reputable tint company/robust product. Geoshield comes to mind as one possibility, I used their 35% ultra ceramic for my back 3 windows and the film was noticeably thicker and less prone to wrinkles, though I ran out of film and chose to order this stickerfab kit for the front doors. Overall a good kit with some quirks to work out, just make sure you have your expectations set if you don’t have much experience
C
Carl Cornell (Belleville, MI, US)
Good product but I need installation practice
I was impressed with the product but did run into trouble installing it. The tint material seemed to be of good quality and the pre-cut product seemed to fit very well. It lined up well at the top and sides. Probably was good at the bottom but I may have damaged the material getting it past the rubber seal on the window. I would take of the inner door panel if I was to do it again. The video does a good job of explaining how to install. I ordered the squeegee, installation fluid, and microfiber towel. The squeegee was MIA but I don't think that would have made the difference. It was the bottom window seal that caused my difficulty.
g
gregg wilson (Seven Springs, NC, US)
Sticker fab
Window tint for my f150 was a perfect fit
M
Michael Wilding (Holly Springs, NC, US)
Not impressed
Installed this tint per the video's instructions and ended up with a ton of creases and bubbles. Ended up removing the tint and throwing it in the trash. Waste of money, but for the price I didn't expect much... their other vinyl products went on fine and look great so no complaints there.
Hello, we were able to answer you question that a replacement side could be ordered. Overall the bubbles are normal for a vehicle that is professionally tinted even. A quick Google for the question 'how long tint bubbles' returns:
'AI Overview
Small bubbles in freshly installed window tint usually go away within a couple of weeks, but can take longer in colder weather and disappear faster in heat. However, larger bubbles or bubbles that have formed in older tint will not go away.
'
We wish you were able to try it again and obtain the same results that so many others did.