For our customers that want added peace of mind and to keep their vehicle in immaculate condition, we're offering paint protection film for your headlights.
Pre-cut templates allow for easier installations. Whether you use your Bronco for long range commutes or in and around town, a little additional protection can go a long way. Heading off the paved road? Definitely consider this purchase.
Please watch our video for tips. Working with PPF is a little bit different than vinyl.
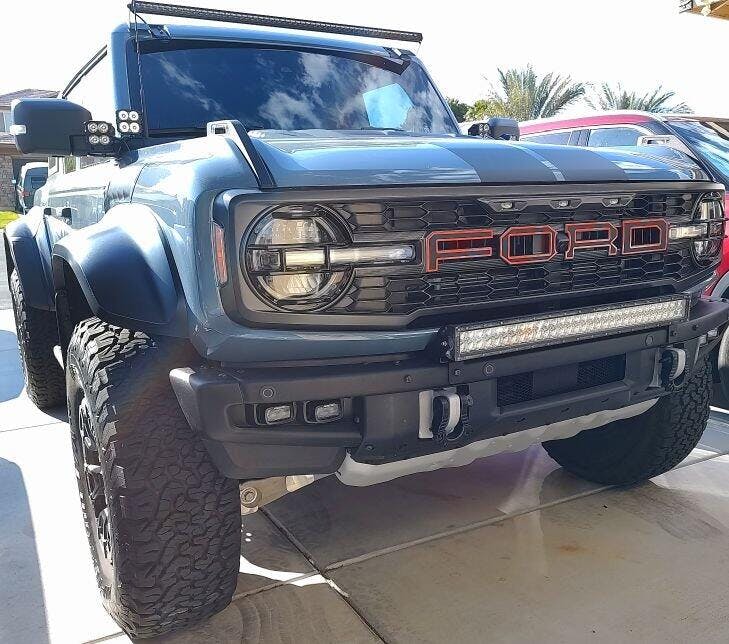
NOTE: Signature headlights are the ones with DRLs that extend across the entire center portion of the headlight. Style of cut is to make it easy to install and still provide proper protection. Will need time to dry before it clears up completely.
The fluid, squeegee, and microfiber can also be purchased as a kit here.
Material
Clear Oracal ORAGUARD 270G stone protection offers a transparent solution to paint protection. It is 6 mil in thickness.
NOTE: 2 sets are sold at a reduced price. Keep it as a backup or in case your first install proves to be difficult.
INSTALLATION
We recommend doing this after a fresh car wash. Re-clean the application area to prepare it for installation. Just use a wax free detailing spray if your vehicle is not too dirty. Do not forget to clean the edges of the headlight and surrounding areas Also wash your hands. You do not want to get dirt stuck to the adhesive side of the PPF.
Watch our video for some tips. The headlight install will be easier than the A pillar.hea
NOTES: We recommend that the installation area be free of wax and not under direct sunlight.
You will want to do this in 75-85 degree weather ideally. Stay in the shade.
Apply application fluid to the target install and nearby surrounding area. Also apply it to the back of the PPF as it is removed from the backing paper. Apply it to your fingers for bonus points.
With a liberal amount of application fluid on the target area and PPF, you can change the alignment of the PPF by gently pulling up on portions and setting it back down.
Once you alignment is ideal, you can start to squeegee out the liquid.
Try to get out all bubbles without damaging the PPF. Take your time and learn how the material reacts to pressure. Should you push down hard on our felt tip squeegees, they can leave some glue residue. Any adhesive remover or Goo Gone should be able to remove that.
You may have to wait for some of the fluid to dry to lay down the edges. This can be accelerated with LIGHT heat from a hair dryer or heat gun.
Overall I must admit I am not an expert at installing these, but I am installed a lot of stickers. I wet down everything really well and even playing with the placement for 20 minutes, I could not get it to fit without creases in the center. I finally used a heat gun, and I got it a little better using that. I did have to finally settle for some imperfections, but its not bad. Should help out a lot with the sand blasting that occurs in my area.
R
Russell Singh (Orlando, FL, US)
Mostly fits Form headlights
These are intended for the stock signature lights but they fit my aftermarket Form headlights fairly well. There are small gaps in coverage where the center split is but otherwise it’s a good fit. Install was straightforward and film is a bit hazy the first day or two but once the adhesive fully cures you can’t even tell the film there.
B
BobN (Tallahassee, FL, US)
Bronco Headlight PPF
Total noob at PPF stuff. I bought the double package figuring I'd screw up the first round. Maybe I did, maybe I didn't. I didn't give up on the first try and they seem to look fine. I'm not sure this gave me enough experience to try the hood black out thing but it does help build confidence. I used the additional cost fluid, towel and squeegee. Anyway this appears to be worth the money. Go for it!