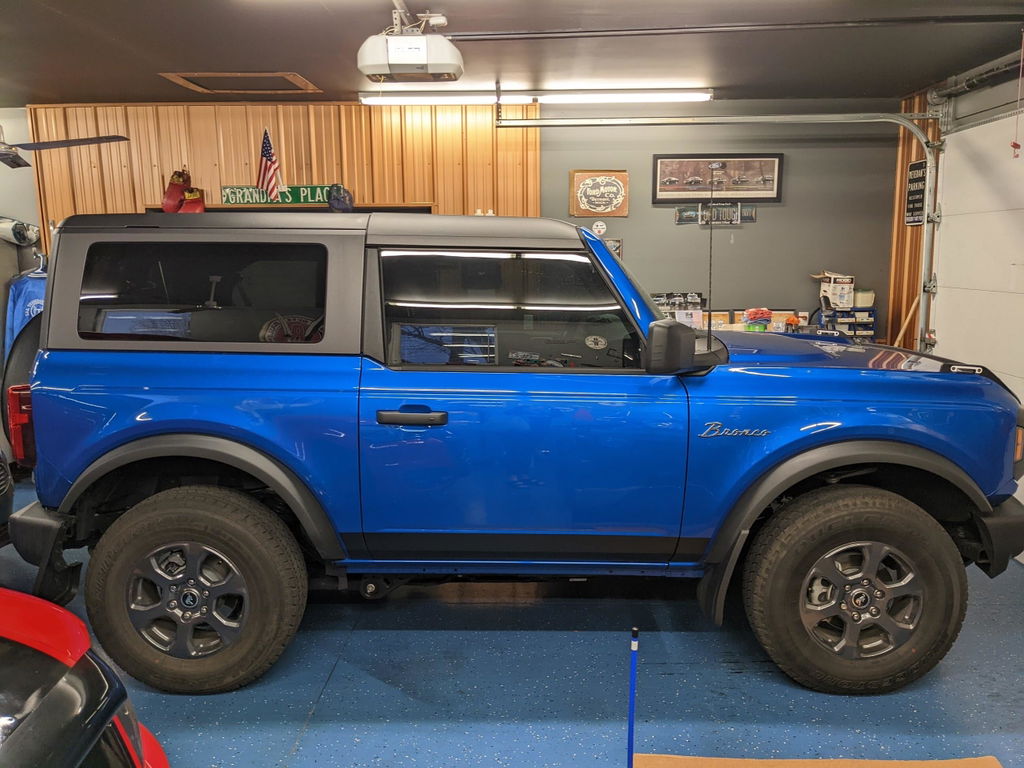
Lower Door Protection - 2021+ Bronco 2 Door
$43.99 USD
%3Cp%3EEarn%20[points_amount]%20when%20you%20buy%20this%20item.%3C/p%3E
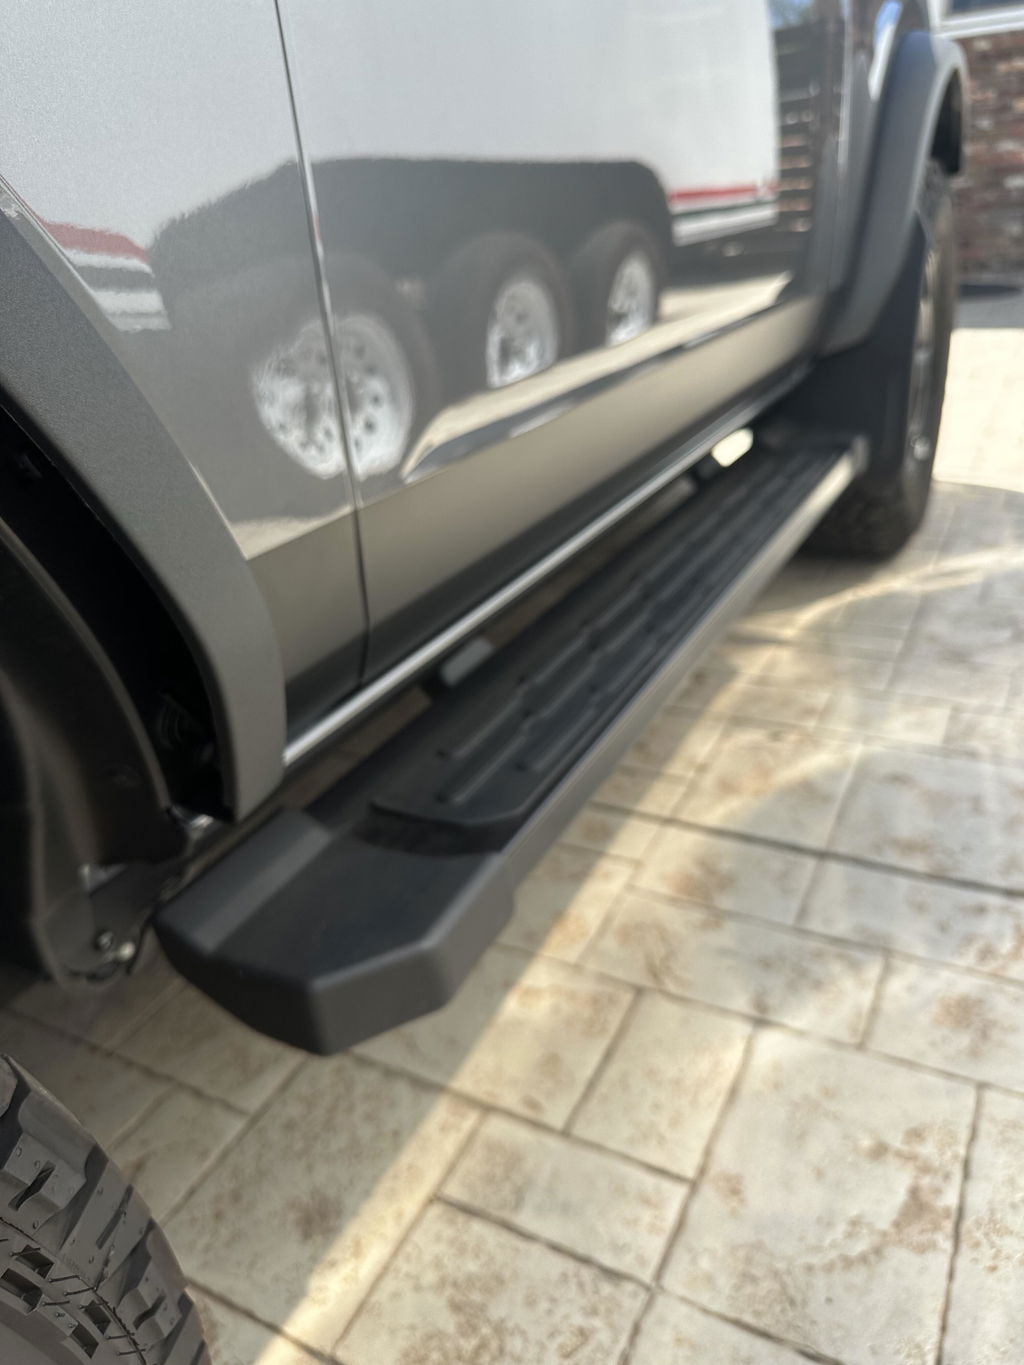
So the first time we took the doors off the Bronco we heard tons of rocks getting thrown at it by those beefy MT tires. Some light off-roading / mudding showed us where it gets sprayed the most as well.
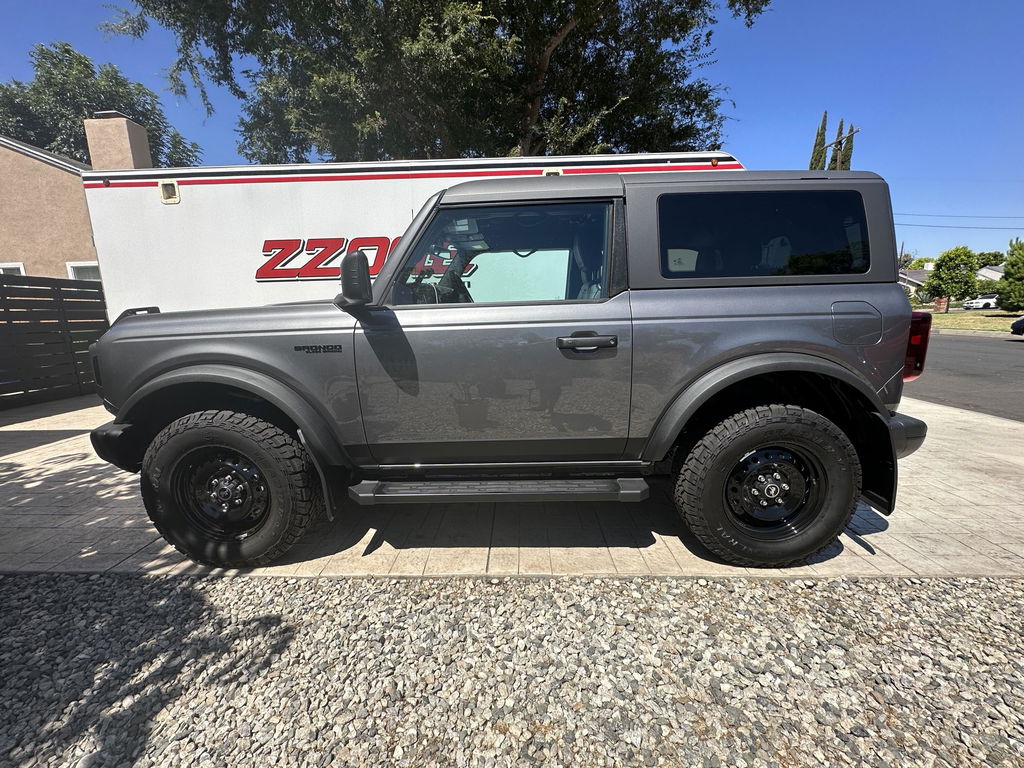
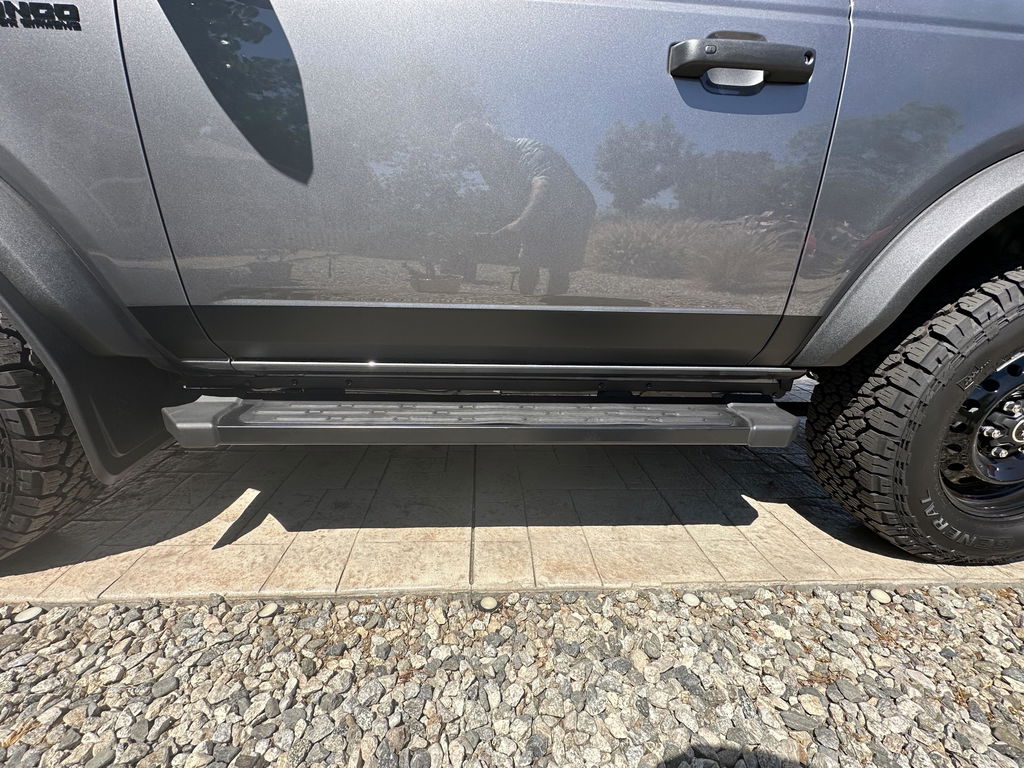
We decided to add a little protection and styling at the same time. This kit is enough to cover the lower door area of one full vehicle.
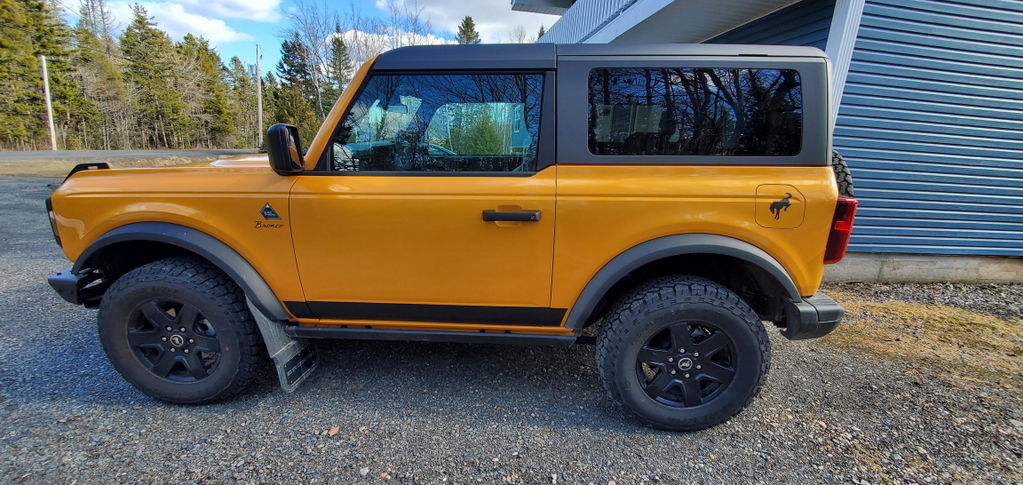
From the factory we also have some paint defects in this area which we will be covering up. It will also provide small amounts of protection when taking the doors off and putting them inside the storage bags.
We're starting off offering 4 different types of materials. All of these materials are sourced in the US and are a premium choice for your vehicle.
Matte black is one of the easiest colors to install in general. It stretches and responds to heat very well.
The gloss black we chose has air egress channels and that is why it is a little more expensive than standard colors. Air egress channels assist in providing a path for air to escape during installation (less bubbles). Some cost is also due to the fact that it is cast versus calendared.
General Formulations 3D carbon wrap also has air egress channels and a textured, dark appearance. We've used it for tons of accents. To clean, use 303 Aerospace Protectant. It'll look great! Don't use any type of wax. This is the thickest material and offers the highest durability.
Clear Oracal ORAGUARD 270G stone protection offers a transparent solution to paint protection. It is 6 mil in thickness.
All options have high outdoor durability ratings.
NOTE: 2 sets are sold at a reduced price. Keep it as a backup or in case your first install proves to be difficult.
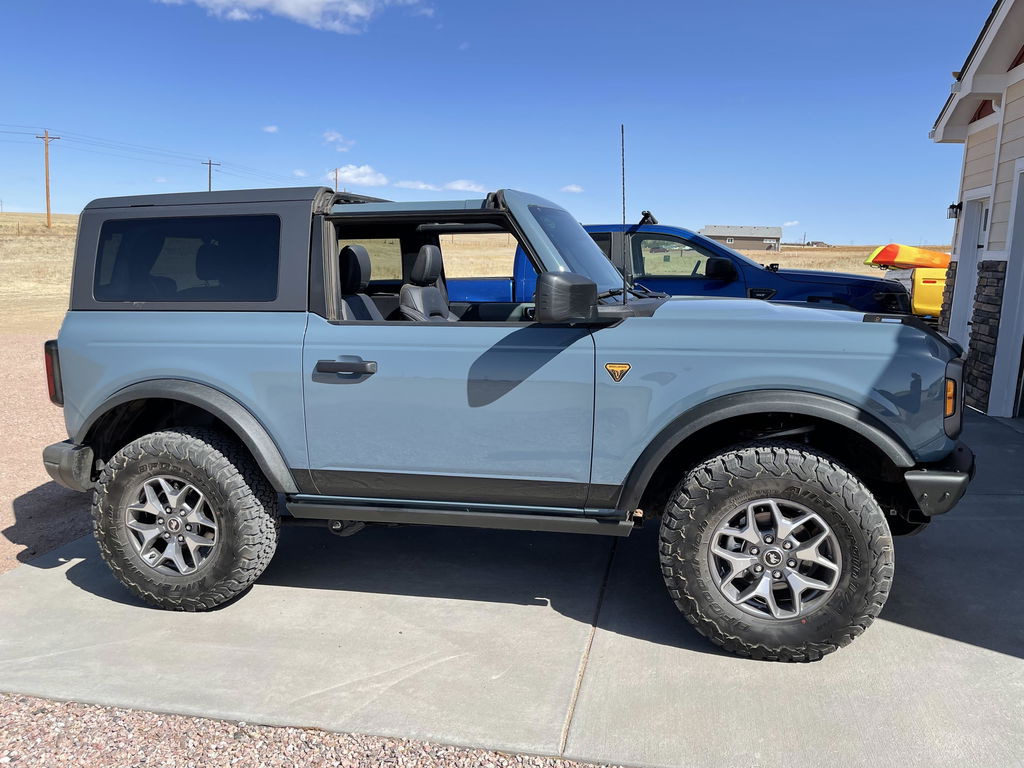
Clean the application area to prepare it for installation. Just use a wax free detailing spray if your vehicle is not too dirty. Please reference our four door video until we are able to shoot a new one. WE HIGHLY recommend that you have a friend help you hold the main piece as it is large and can catch air. In general holding it yourself is awkward.
We aligned and installed the small front piece and rear piece first. This allows you to guide the middle piece to meet up with both.
NOTES: We recommend that the installation area be free of wax and not under direct sunlight. Some will choose to clean the application area with rubbing alcohol which is okay.
"Rubbing alcohol will not damage car paint if it is diluted to between 10% and 15%. Since rubbing alcohol evaporates quickly, it doesn't damage car paint."
3 item kit (microfiber, installation fluid, squeegee)
Wet installs requireStickerFab Application Fluid or in a pinch, one drop of dish or hand soap in a cup of water. Apply to the vinyl so that the first attempt doesn't make the vinyl permanently stick to the surface. Then you can slide it around and push out the extra water once it is in place with your squeegee.
Try doing the install in the shade so it doesn't heat up the vinyl rapidly.
We recommend using painter's tape to make a perfectly straight line to use as a guide prior to install.
Watch our video for more details. We purposely did a long installation and did not skip any parts. You may fast forward and rewind at your own leisure.
I love the way these look. Took about and hour to complete both sides. Pretty straight forward and definitely would use the spray to apply. Made things much easier.
excellent
Had my daughter help with the installation, definitely recommend another person to assist, but it good be done singularly. Used the squeegee to help get it smooth. Love the look & protection. As a Veteran, I'm happy to be supporting a Veteran company 🇺🇲
Looks great, very happy with it. A little difficult to get it smooth, but I am no expert. Watch the youtube video for installation tips!
We had to wait until there was a low wind day to install, but install was easy enough, and it looks great. I’m hoping it helps keep the rock damage down.